
1、添加依赖
<dependencies>
    <dependency>
        <groupId>org.springframework.boot</groupId>
        <artifactId>spring-boot-starter-web</artifactId>
    </dependency>
    <!-- https://mvnrepository.com/artifact/com.ibeetl/beetl-framework-starter -->
    <dependency>
        <groupId>com.ibeetl</groupId>
        <artifactId>beetl-framework-starter</artifactId>
        <version>1.1.62.RELEASE</version>
    </dependency>
</dependencies>
2、添加控制器
import org.springframework.boot.SpringApplication;
import org.springframework.boot.autoconfigure.SpringBootApplication;
import org.springframework.stereotype.Controller;
import org.springframework.web.bind.annotation.RequestMapping;

@Controller
@SpringBootApplication
public class Application {
    @RequestMapping("/")
    public String index(){
        return "/index.btl";
    }

    public static void main(String[] args) {
        SpringApplication.run(Application.class, args);
    }
}
3、添加模板
在 resources/templates 目录下添加 index.btl 文件:
<!DOCTYPE html>
<html lang="en">
<head>
    <meta charset="UTF-8">
    <title>Title</title>
</head>
<body>
<h1>hello Beelt</h1>
</body>
</html>
4、使用 html 后缀的模板
在 application.properties 文件中添加配置:
beetl.suffix=html
然后就可以将 index.btl 文件改名为 index.html,并修改对应控制器方法:
...
    @RequestMapping("/")
    public String index(){
        return "/index.html";
    }
...
5、运行
运行结果如下:
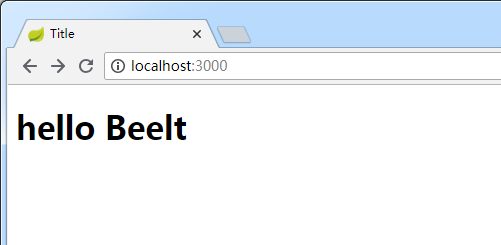
注:端口号因配置可能有所不同。
